With a bit of forward planning, you can tailor your kitchen island to your space and lifestyle. Follow our tips to find out how.
Plenty of homeowners are now putting kitchen islands on their wish lists, mindful of the difference they can make to a kitchen’s atmosphere and usability. In fact, Paul O’Brien of Kitchens International says that islands are now a feature of 80 per cent of the kitchens the company installs. “They’re the linchpin of the design and clients even reposition walls to include an island,” Paul says.
But before you swing the sledgehammer, think about what you want to use an island for. Will it be for dining, storage, food preparation or to house sinks and appliances? This planning is the key to making sure your island suits your lifestyle and your home.
“Consider whether you’ll use the kitchen island as an extension of the worktop, as a space to prepare and cook meals, or whether it’s somewhere to enjoy casual dinners in the week,” says Daniele Brutto of Hub Kitchens. “If you enjoy entertaining but aren’t a huge cook, then a relatively small prep kitchen island would allow more space for dining room furniture and would work better than a larger island with a hob, like most people envisage island designs to be.”
Read on for more tips on planning the perfect kitchen island.
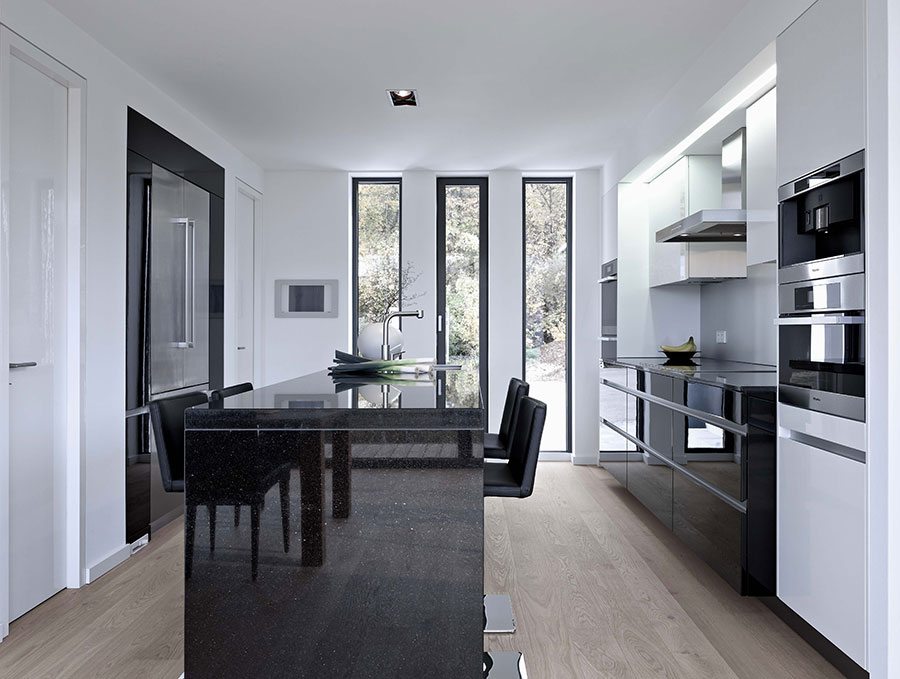
The Avance FG kitchen from Leicht UK in a covetable combination of frosty white and black. It’s priced from £15,000.
Size matters
First, you’ll need to decide the size of your kitchen island. After you’ve measured your space, look at the room as a whole, identifying how you tend to move around the space and noting the positions of doors and major appliances. A kitchen designer can help you with this.
Then work out how much space you have to accommodate an island. This includes the space around it. “Check that you have a minimum of 90cm to 1m walking space all the way around the island and a maximum walking space of 1.2m,” advises Kiran Noonan of John Lewis of Hungerford. “If your measurements don’t match these, you’ll either dwarf your kitchen with an island that’s too big, or not make the most of your space with an island that’s too small.”
If you have a large kitchen, the world is your oyster in terms of the size, although Karon Read of Neptune advises that it should be no more than 1.4m wide. “Any deeper and it’s too far to reach across and wipe the surface clean,” she explains.
Smaller kitchens will benefit from a taller and narrower kitchen island. Some can be as small as 40cm wide and 1m long.
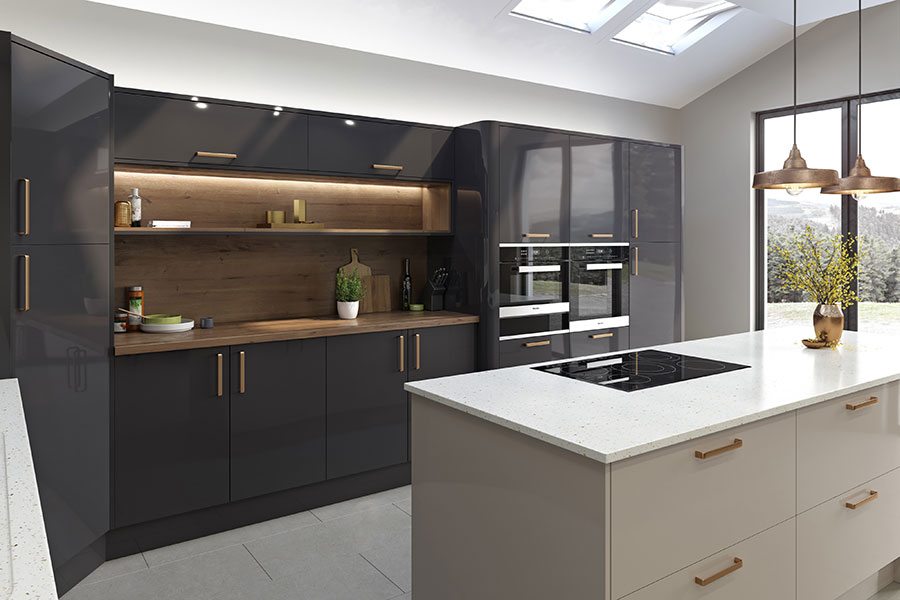
Grey and neutral gloss finishes create a crisp appearance in the Mala kitchen by LochAnna, priced from around £7,000.
Get connected
If you’re planning to incorporate appliances or a prep sink into your kitchen island, you’ll need to consider electrics and plumbing. “It really all comes down to flooring,” says Karon. “Both plumbing and electrical services to the island need to run under the kitchen floor, so you need to know what your sub-floor is made of. If it’s concrete then you may have to channel them in or lay the services on top, which might mean raising the level of the floor. If you have a suspended wooden floor, you’ll need to identify where the floor joists are to establish where the plumbing can run.”
Do you want underfloor heating? You’ll need to decide this upfront, as it’ll affect the finished floor height. This can have knock-on effects, so contact a plumber for advice before you start your refurbishment project.
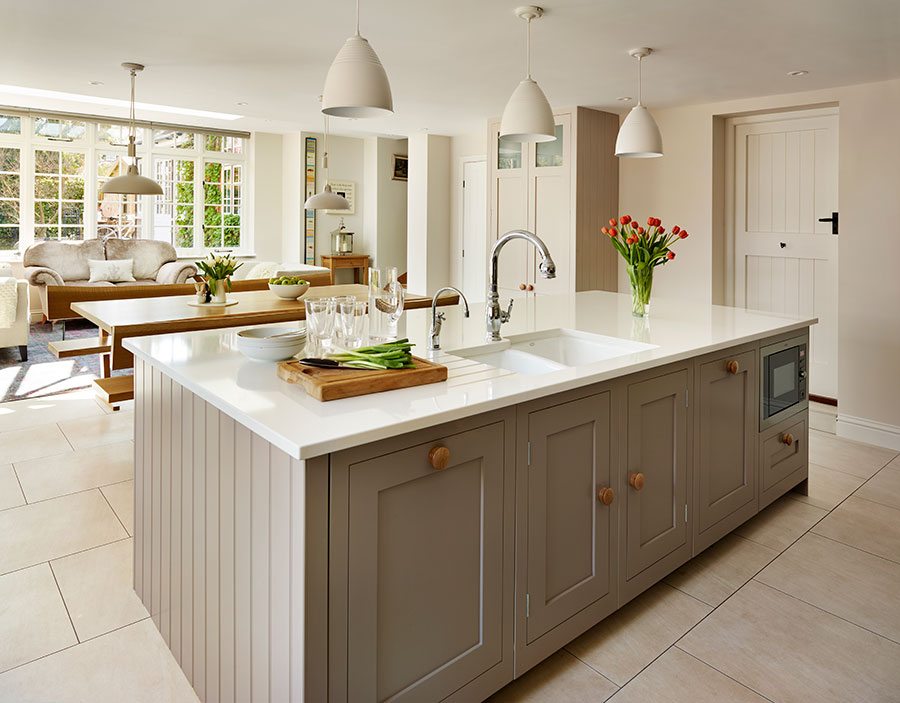
This classic Shaker-style kitchen incorporates clean lines and classical proportions. It’s by Harvey Jones where kitchens start from £18,000.
Find a pro
A reliable plumber and electrician will be essential to your kitchen project. Ask friends, family and neighbours for recommendations, and check in with your kitchen designer for local contacts. “Always invite a few people to talk through the work to make sure that you’re getting a competitive price but also to get a feel for them,” advises Karon. ”It’s important to work with somebody you feel you can trust.
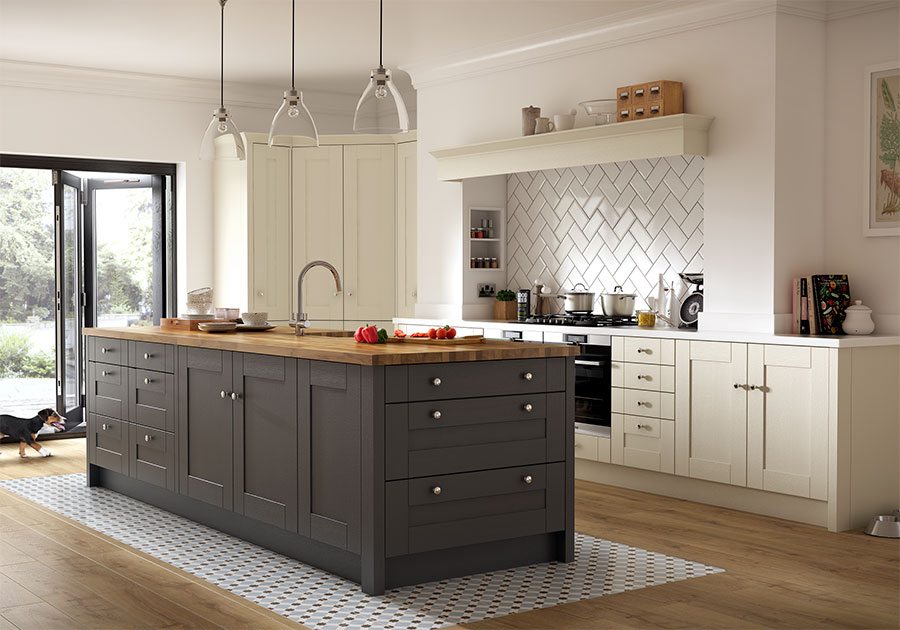
The Sherwood kitchen by Benchmarx is available in charcoal, white and light grey. Mix and match them to create your own look. Prices start from £2,200 for an eight-unit kitchen.
Plan for sockets
Electrical sockets are a useful addition to a kitchen island, given the popularity of small kitchen appliances such as juicers and blenders. Pop-up sockets set flush to the surface of the worktop are a great idea; alternatively, place them on the end panel where they’ll be less visible but still accessible.
Phone charging can be done directly from the kitchen surface thanks to new cordless charging technology that can be integrated into Corian kitchen surfaces.
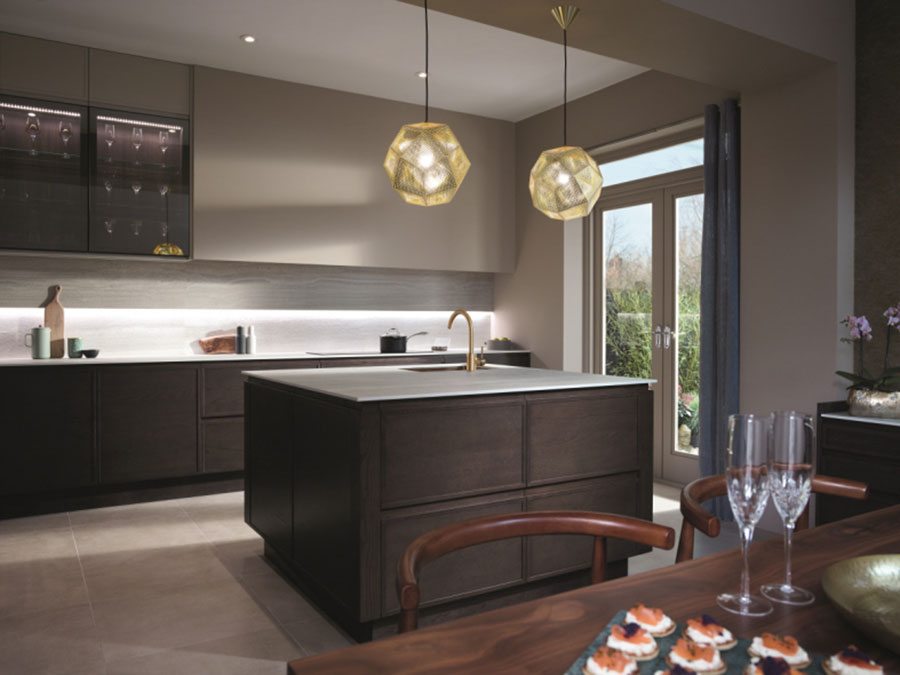
Developed by BioGraphy, the Lichfield is a sleek, handleless kitchen, available in oak or espresso, partridge grey and porcelain as well as a 25-strong paint-to-order palette. BioGraphy kitchens are priced from £10,000.
Create a cook top
Place a hob on an island to create a more sociable and functional space: the cook will be able to face outwards into the kitchen and interact with guests. Parents of young children may want to trade in a gas or electric hob for induction – these are considered safer because the top remains cool to the touch while the pan heats up. There are also no naked flames, so no burnt fingers.
If you decide on an induction hob, think about putting a pan drawer below it. “You can increase your kitchen storage by at least 50 per cent if done well,” suggests John Sims-Hilditch of Neptune.
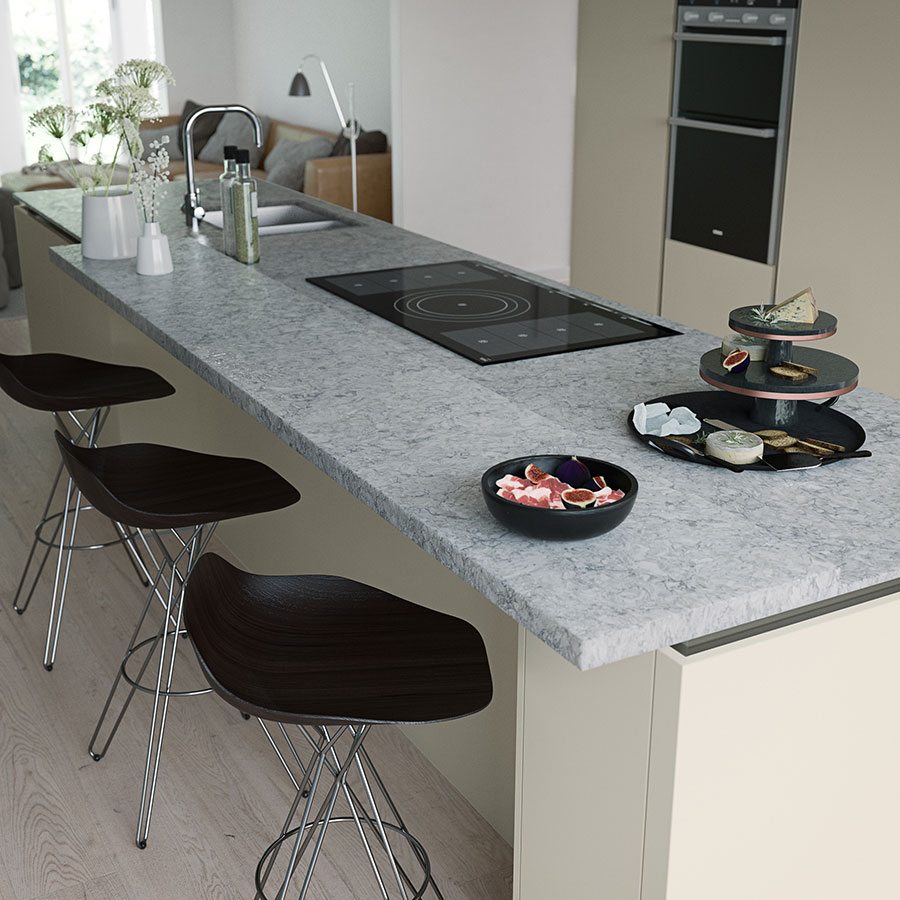
The Roux Kitchen, crafted for Roux Lifestyle by Moores, offers a wide variety of appliances, fixtures and fittings for a bespoke design suited to your needs. Priced from £35,000.
Island dining
Islands with built-in seating areas eliminate the need for bulky dining tables. Breakfast bars – formed by extending the worktop beyond the footprint of the island to form a small ledge – are popular. “Create an L-shaped seating area to ensure stools are not in one long line as this makes chatting to each other a neck-cricking exercise,” advises Alex Main of The Main Company.
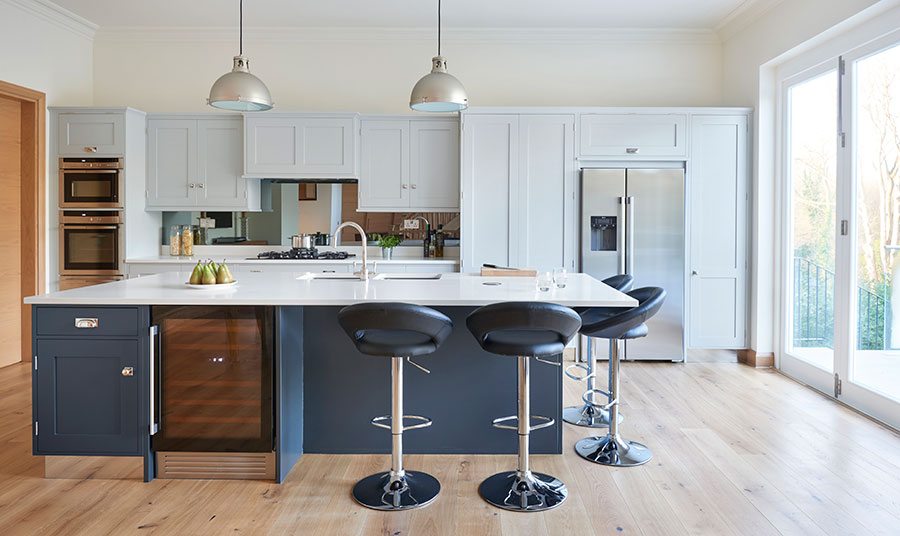
An L-shaped eating area is incorporated into this large island unit, featuring a quartz caesarstone worksurface. The kitchen is by Rencraft, priced from £18,000.
Another option is an inset design (below), which means you can include a couple of bar stools. In both cases, always factor in at least 30cm of knee space.
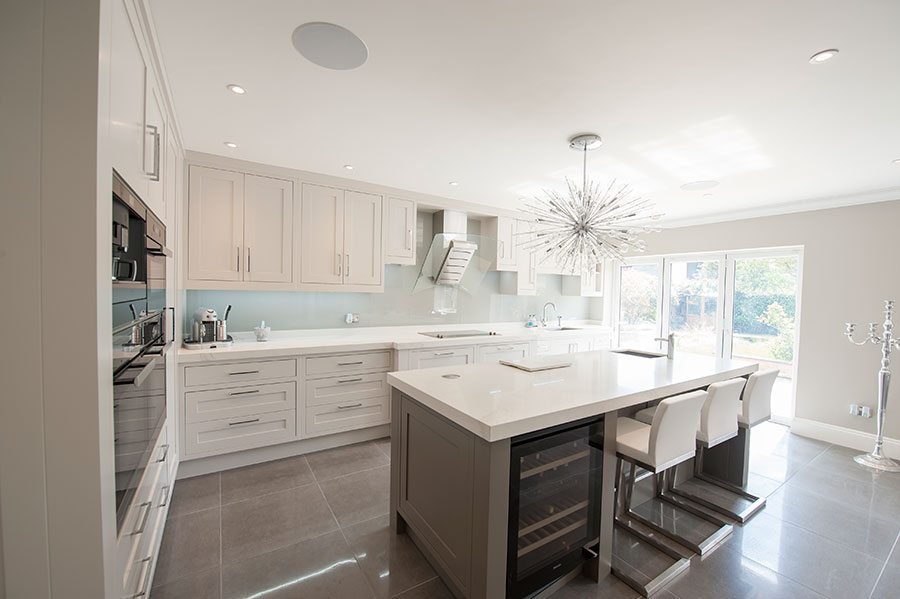
The inset design of this island unit allows for the inclusion of a couple of bar stools. The worktop is marble-effect Calacatta from Caesarstone’s Supernatural Ultra collection, priced from £1,500 per m.
If you don’t want to perch on high stools, a drop-down table is a good solution. Add a few comfortable chairs or low stools and you have yourself the perfect dining space.
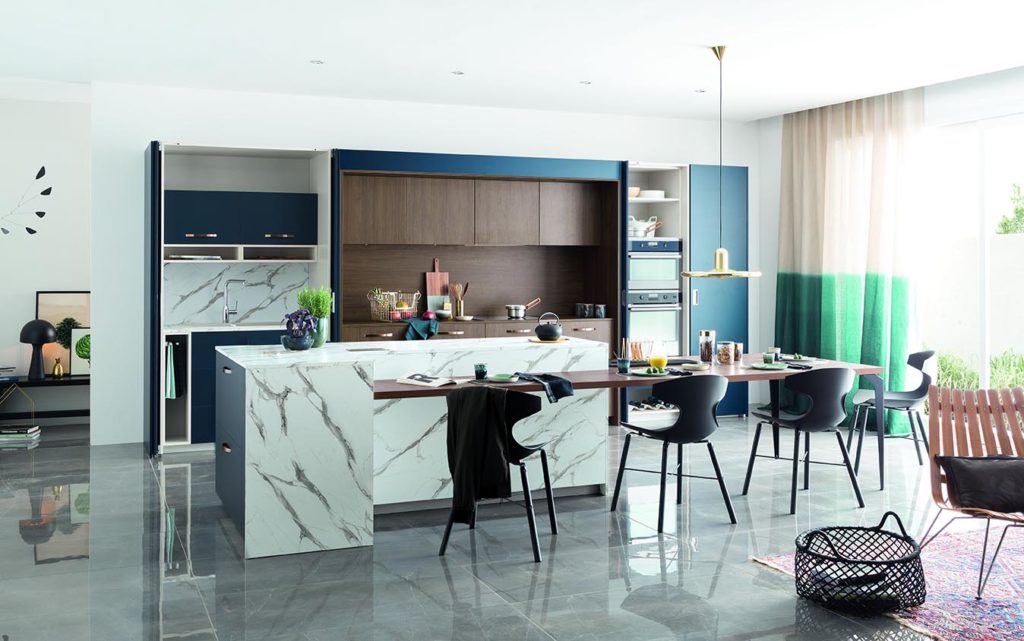
The combination of midnight blue, marble-effect and walnut detailing lends a luxurious feel to the Kiffa kitchen by Mobalpa, priced from £8,000.
Make a difference
All islands need clearly defined zoned areas for food prep, cooking and socialising. It’s easy to achieve this by setting the breakfast bar at a different level from the hob and food prep area or by using contrasting materials or finishes. “This will add texture and depth to the kitchen,” says Daniele.
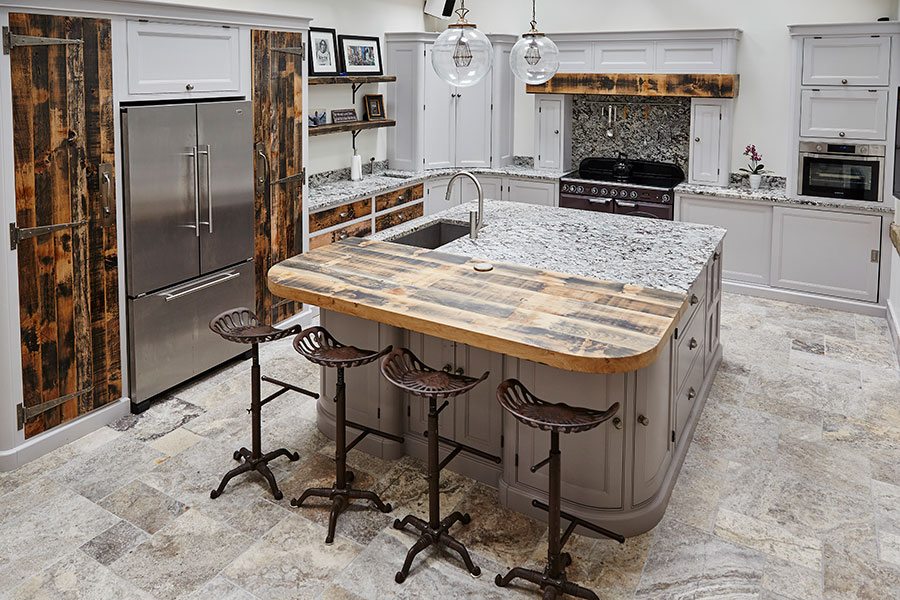
Contrasting materials clearly define the breakfast bar from the prep area in this bespoke kitchen by The Main Company, priced from £15,000.
Store and order
Drawers for large pans work well on an island, especially in smaller kitchens, as they provide accessible storage and reduce clutter. “Position your pots, pans and utensils in easy-access drawers so you don’t have to traipse through the kitchen or rummage in drawers looking for a particular utensil,” says Daniele.
Consider incorporating open shelving at the rear of an island to create a storage area for cookbooks, glasses or trinkets. This will help to soften the island’s bulky size and its overall impact on the space.
An easy-access refuse bin is advisable if you have a food prep area on your island, while a Le Mans-style storage solution is ideal if you choose a rounded end (shown here). The beauty of a Le Mans is that it slides out so that the contents of your cupboard are completely on view.
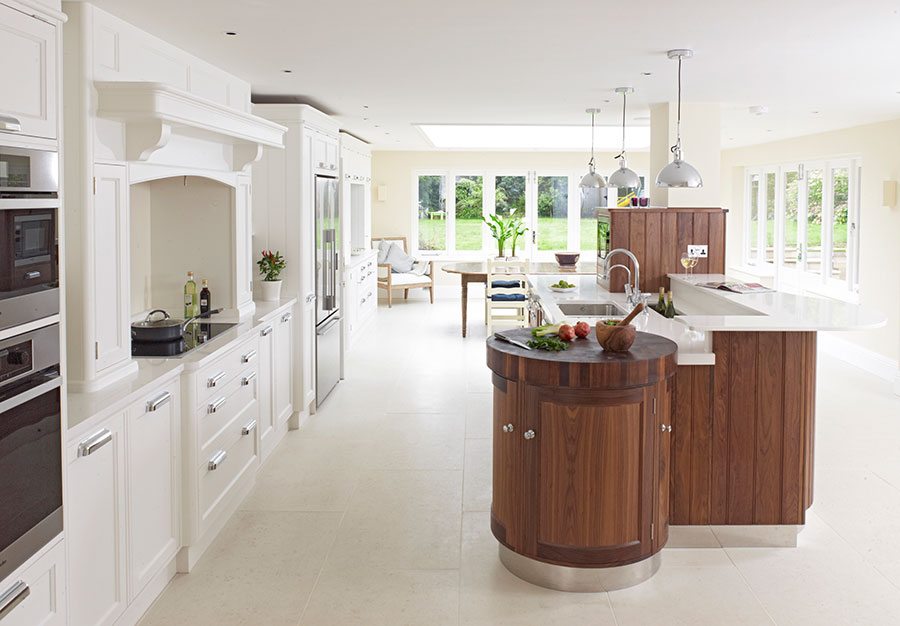
This Rencraft island unit features stainless steel plinths, curved cupboards and chopping board. Prices for kitchen furniture start from £18,000.
A breath of fresh air
If your hob is integrated into your kitchen island, there are several options available for extraction. To start, consider a flush-mounted ceiling extractor. These are often built into a bulkhead, which lowers the height of the ceiling but hides the mechanics of the extractor – ideal if the ceiling is not deep enough.
A pendant extractor is another option. It’s not ideal if you want to keep lines of sight clear but it makes a bold statement. Check out models from Elica and Blanco.
“A more advanced option would be a retractable extractor that can be built into the kitchen island,” recommends Edward. “At the touch of a button, the extractor emerges from the island surface and draws unwanted smells and steam through a downpipe into the floor. This option keeps the ceiling clear for roof lights or ceiling lighting and creates a much more minimal kitchen design.”
Before buying your extractor, always check if it’s a ducted-out or recirculation model. This will determine where you can and can’t position it.
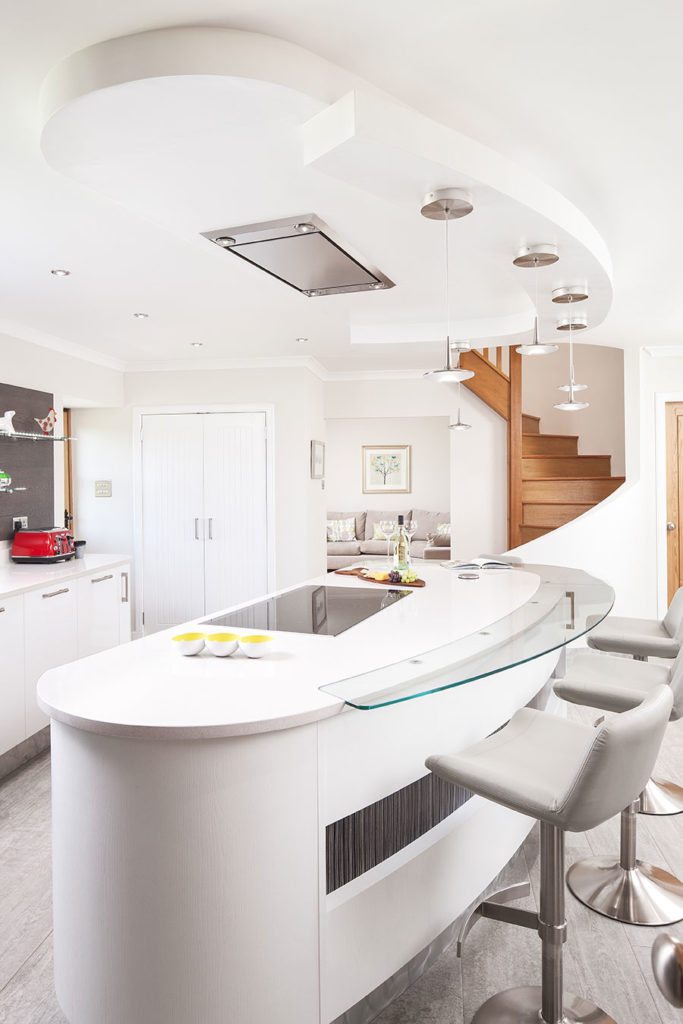
A Silestone worktop blends seamlessly with a glass breakfast bar in this Stoneham kitchen by Kitchens International. Priced from £20,000.
Don’t forget decibels
If you’re using your kitchen as a family area or dining room, you’ll need a low-decibel model that doesn’t drown out conversation. “The usual noise level for a cooker hood is around 60 decibels, which is similar to conversation level in a restaurant,” says Steve Corbett of CDA. “We now have models that work at super-quiet levels – as low as 48 decibels. This is similar to the noise level in a library.”
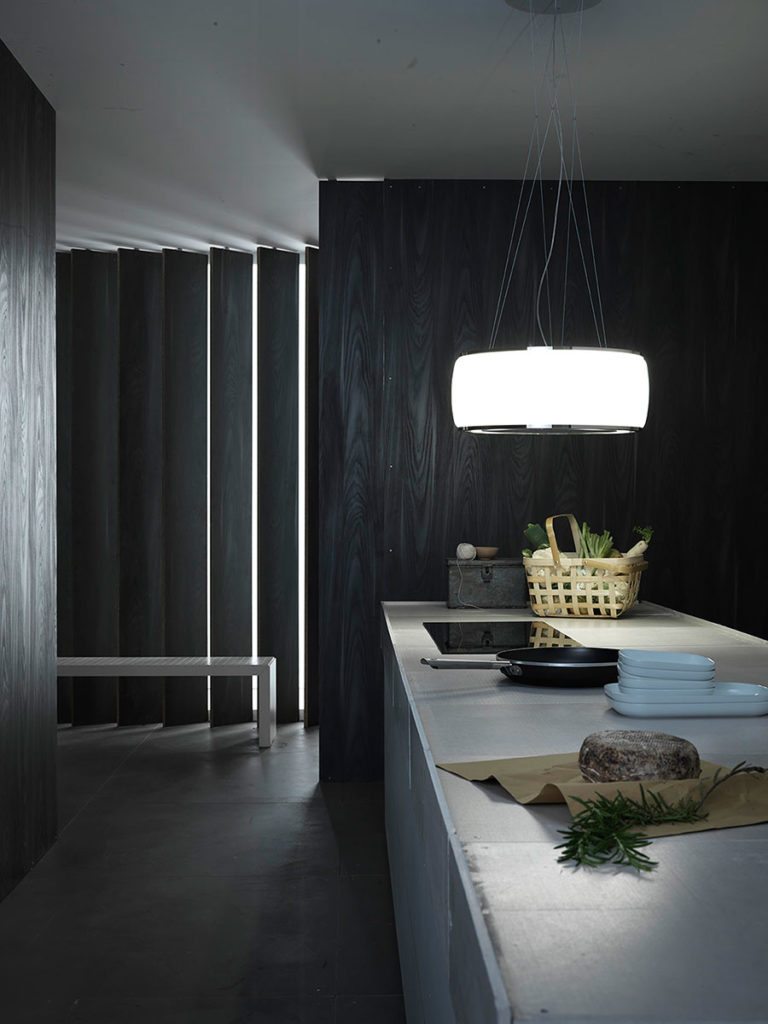
The orientation of the filtering unit featured on Falmec’s Circle Tech range allows the air to be expelled evenly, reducing noise to 47 to 67dB. Soffio (shown) is handcrafted from Murano glass and priced from £1,700.
Looking for help planning an open-plan scheme? We have put together ten simple steps to get you started here.